Warning:

'If you can smell the two-pack paint when spray painting, it's already too late.
Two-pack is carcinogenic (cancer causing), your health must come first' ...James C

Catamaran Painting
TOPCOAT - EXTERNAL


Spraying the catamaran's topcoat was very satisfying. These photos don't quite give the painting justice, as it comes up much better than what we show here.

Wanting to use the gravity-feed spray gun presented some more challenges. As opposed to pressure pot spraying, gravity fed requires top-ups of the spray-gun after each litre is used and cannot be used upside down, so some thought needs to go into how the underside painting is going to be completed.

We used the Star S106 spraygun with a smaller nozzle (1.5mm - 2mm) to get the finer finishing coat. This did require some testing which was done on the internal surfaces. We logged the thinning quantities on the whiteboard when we got the finish we looked for.

All that was needed now was the temperature, humidity and getting the ventilation right so that overspray did not resettle on the newly painted surface. The extra time spent in prior preparation each spray day, paid handsomely.

Back to 'discount trade tools' people, we were told that it would be cheaper to buy a whole new unit than the three bits required to change the current gun to the smaller nozzle.

two pack top coat

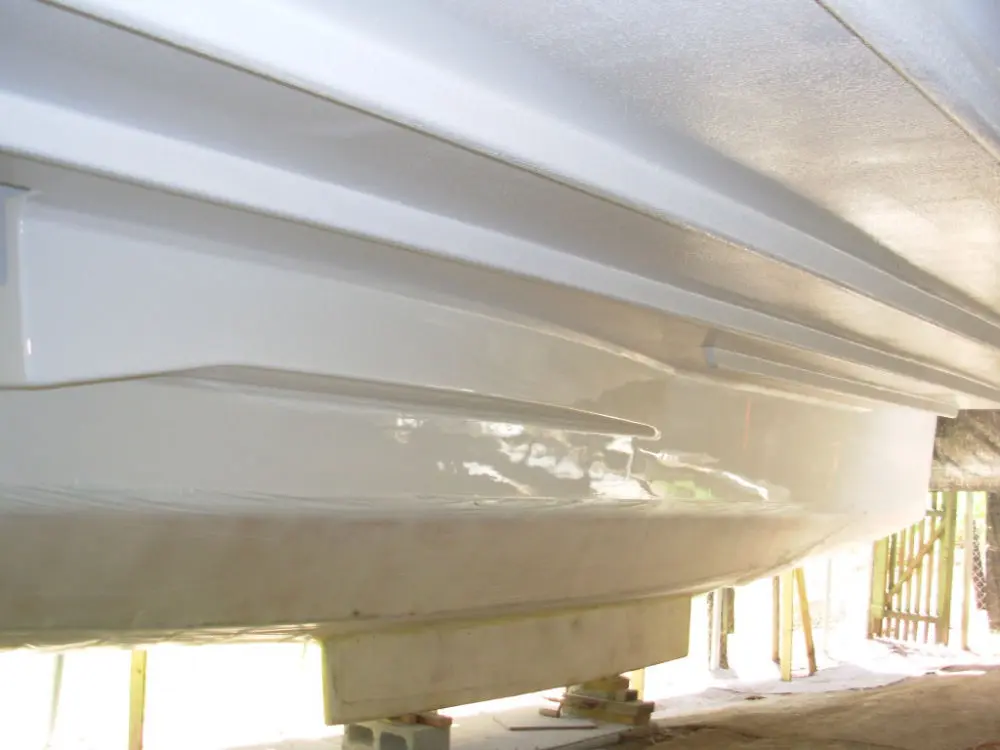
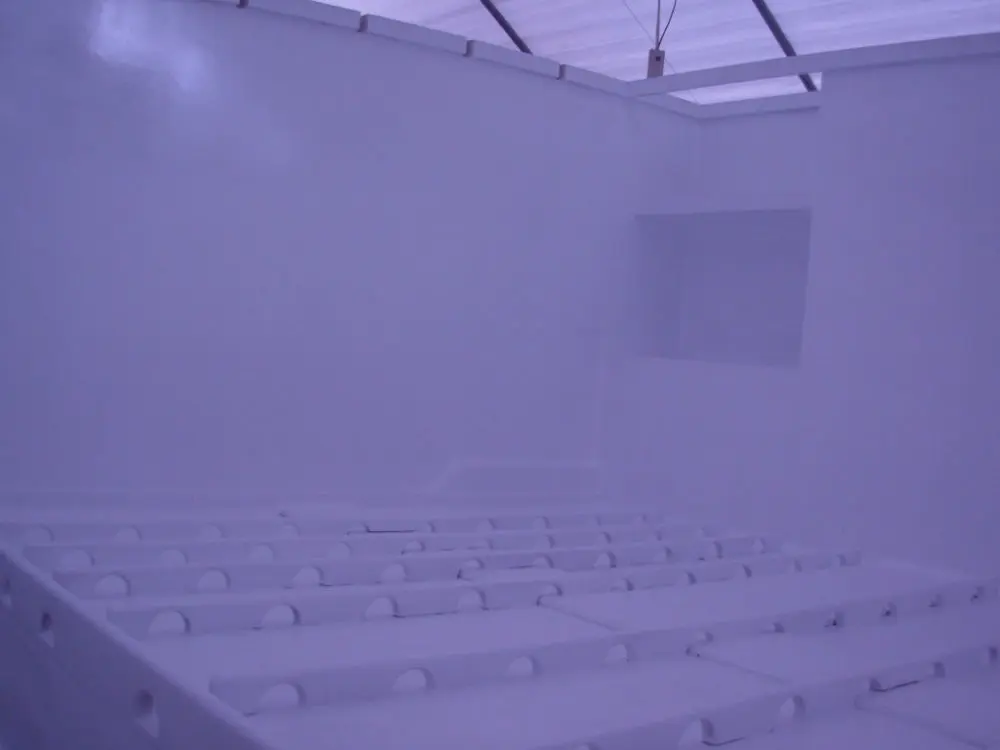
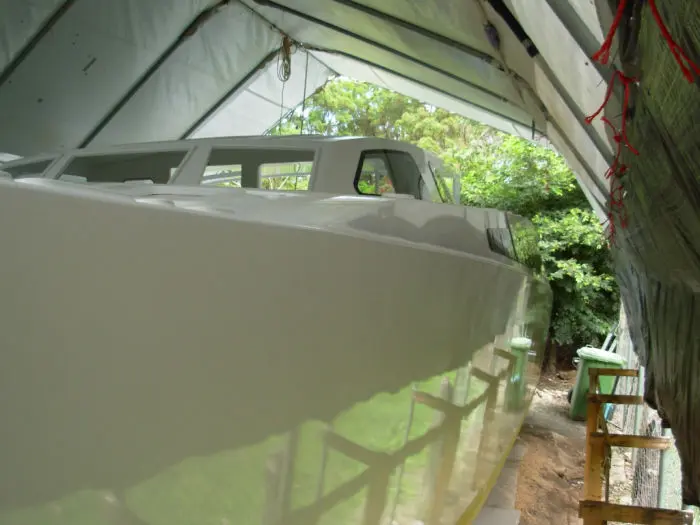
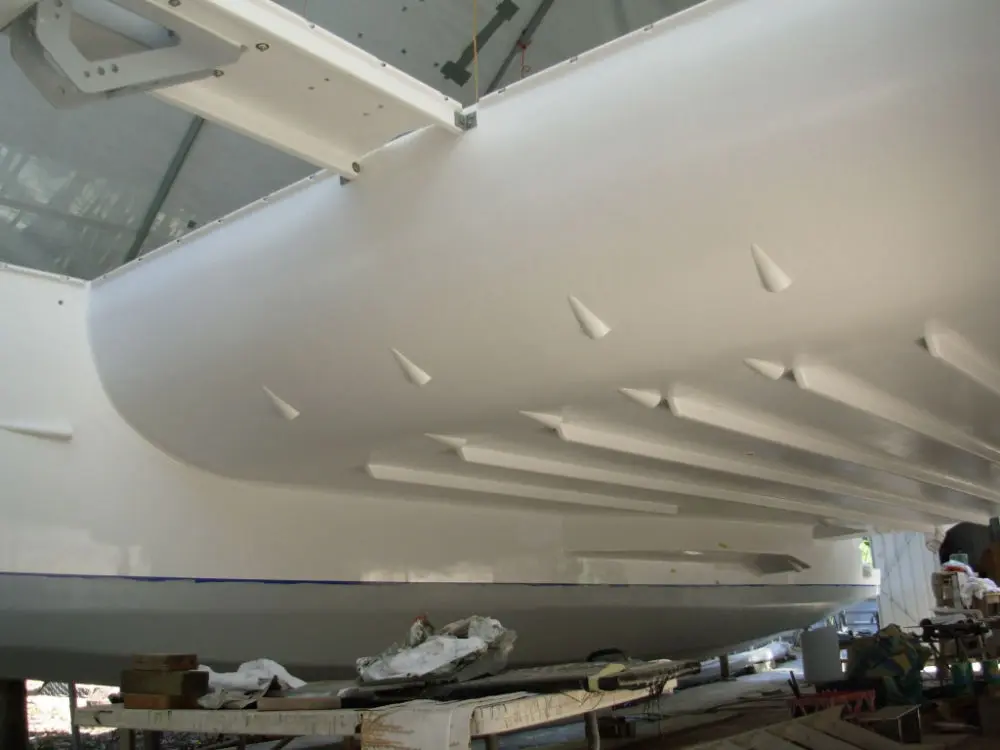
Lower bridgedeck (stippled finish) with lower port hull to a gloss finish.

two pack marine topcoat

Starboard engine pod (all stippled finish).

two pack marine paint

Very happy with the non-professional finish.

two pack marine paint

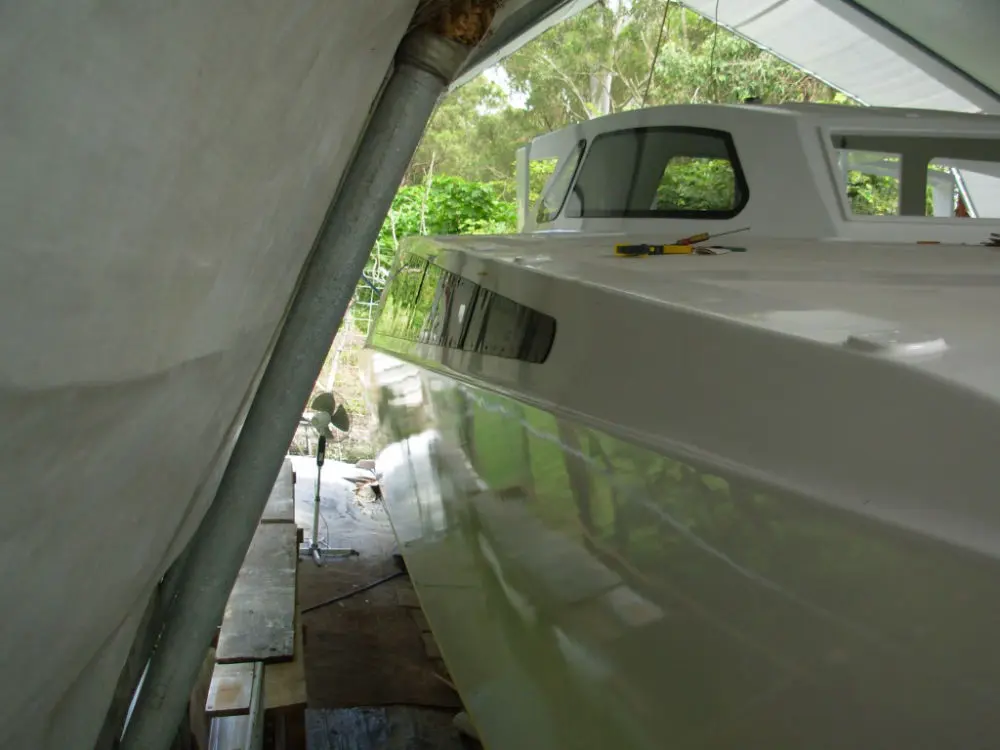
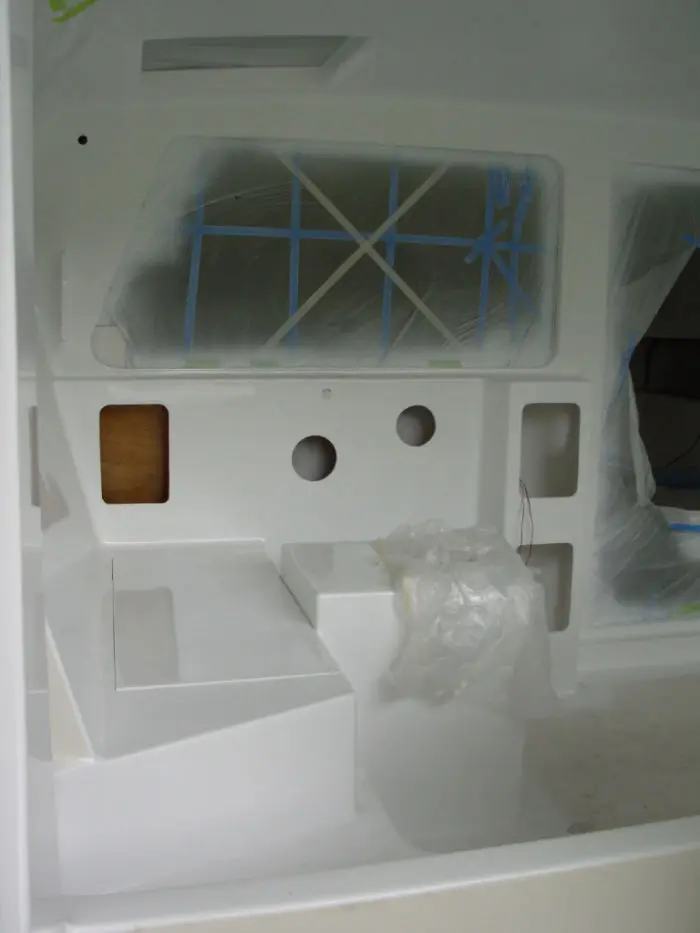
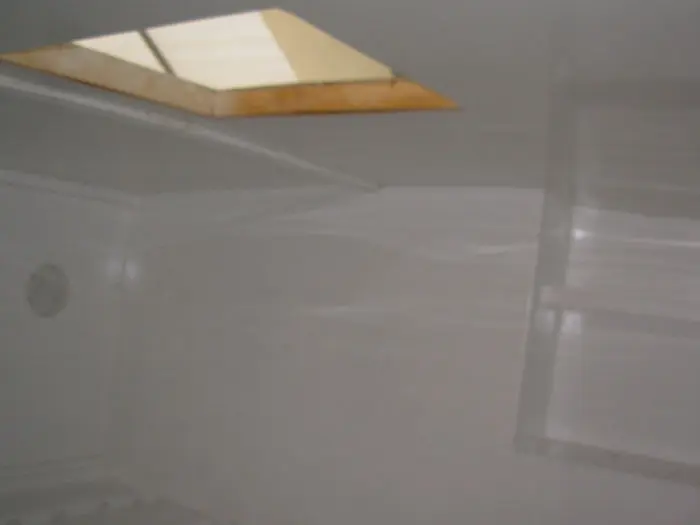
Topcoat complete with windows installed. Upper bridgedeck yet to be painted with Tredgrip.

two pack marine topcoat

Aft davits and frame.

two pack marine paint

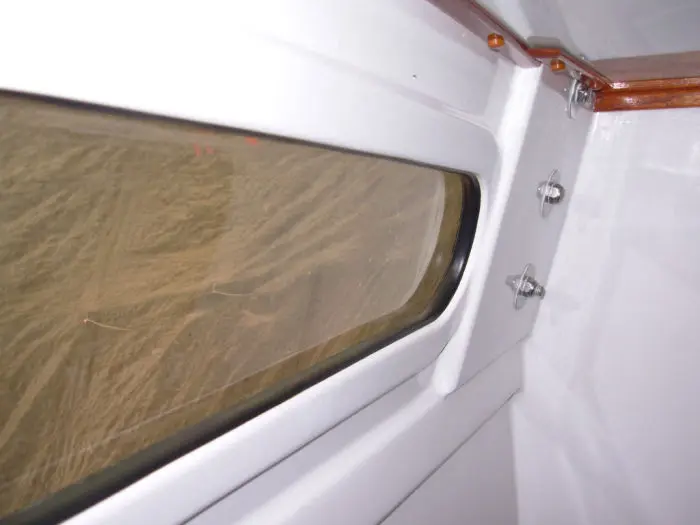
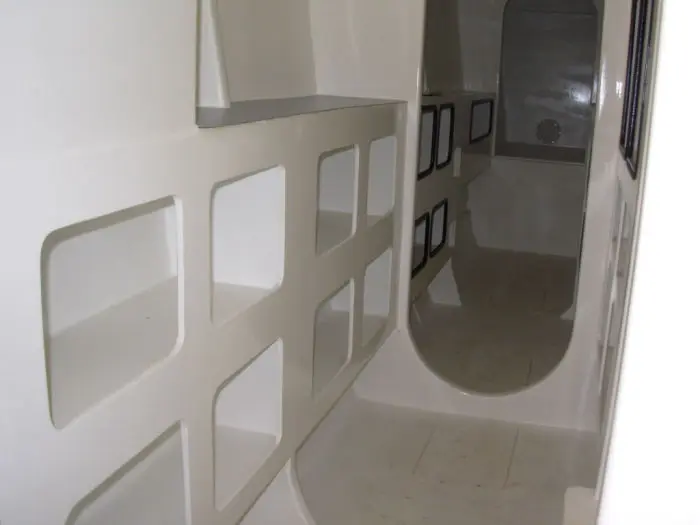
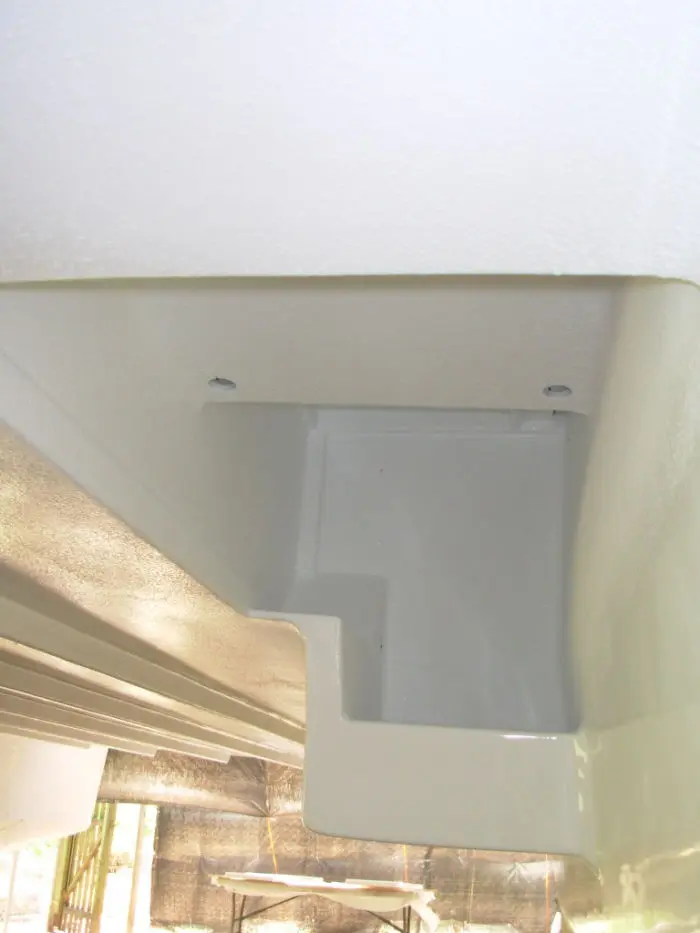
Inner hull face - gloss, the bow lockers and lower bridgedeck stippled.

two pack marine paint

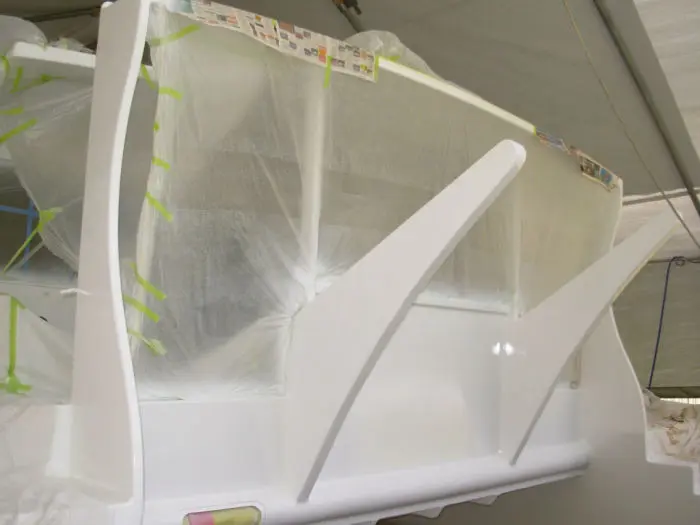
Last topcoat spray going on. Note the areas unpainted that were later finished with Tredgrip.

two pack marine paint

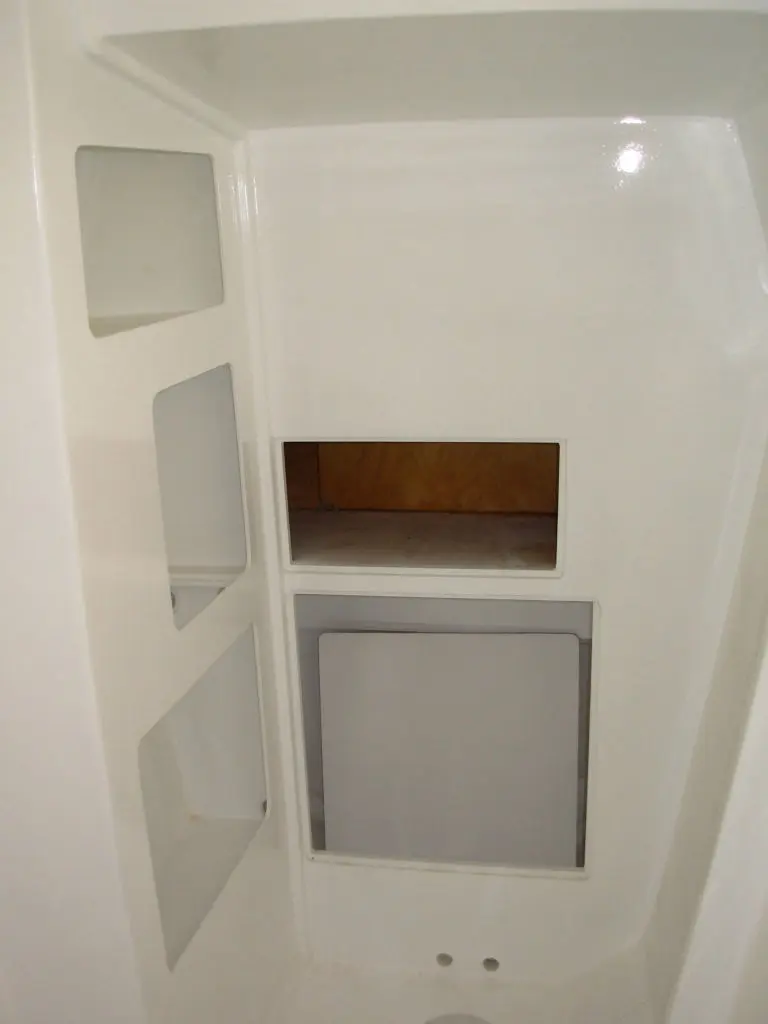
Stippled finish bow lockers and lower bridgedeck. Scuppers were made grom PVC pice and two-pack painted.


There are a few tricks here to with respiration (refer our warnings below), thinning of the topcoat, temperature and coat thickness which we diarised in our Catamaran Building Books.

Using a clean pair of disposable overalls (sometimes called coveralls) and butyl-rubber gloves are an absolute must. We went further and used a barrier cream on the face, wrists/hands and ankles (ie areas where if anything could be exposed, it had barrier cream coverage).

snapshot video

diy multihull external painting

Catamaran Painting
TOPCOAT - INTERNAL

During the external undercoat paint stage, the decision to include plinths definitely did add to the increased build time as this forced us to start laying out the positions of electronics (depth, speed, wind, autopilot and multifunction unit), winches, blocks and tracks.

The main issue being that we had not even decided what brand instruments we were going to have.

The last sand prior to the topcoat was done by hand with 240grit paper. The deck was marked with pencil lines providing a 50 – 80mm border around the plinths, hatches and lockers and topcoat painting was soon underway.

two pack top coat

Sorry about the light...one of the main rooms complete with below mattress stringers in place (for mattress ventilation).

two pack marine topcoat

Cockpit complete, awaiting fitout.

two pack marine paint

The finished product from the inside with a window in place.

two pack marine paint

Topcoat complete with trim and edging 'bling'.

two pack marine topcoat

Main room, very smooth which will make cleaning a treat.

two pack marine paint

Side cupboards waiting trim.

two pack marine paint

The 'head' area, ready for the toilet and edging.

two pack marine paint

Lockers came up a treat with the trim.


Overspray here was a major issue, making early starts a must while winds were down. As soon as the temperature had reached our preplanned value, the paints were mixed and multiple very thin layers applied as opposed to one or two thicker layers.

The other marked areas would be later filled with Tredgrip, a water based paint with rubber chlorinated granules. Caution with the choice of tape here was critical as this provided a very smooth edge with an unnoticeable join. There are tapes too that have 14-day periods but DO leave a residue that is very difficult to remove.

What a job, but a great two-pack finish that is a little hard to show here. Some of the 'fitout' photos prior to launch does this a little more justice. Bottle of red went down very well this night.

snapshot video

diy multihull internal painting

© Copyright 2009-2024 www.diycatamaran.com - All Rights Reserved